Go on Kiwis, express your unique personality.
We offer a range of signwriting services, from decal sticker supply only for DIY application, to full project design, vehicle branding application and on-site vinyl application and signage installation.
No job is too small. We specialise in one-off small decal jobs, and unlike others, we do not believe in a surcharge or extra fees for small custom jobs so feel free to to discuss your requirements no matter the print run size. And of course we can undertake large-scale projects too.
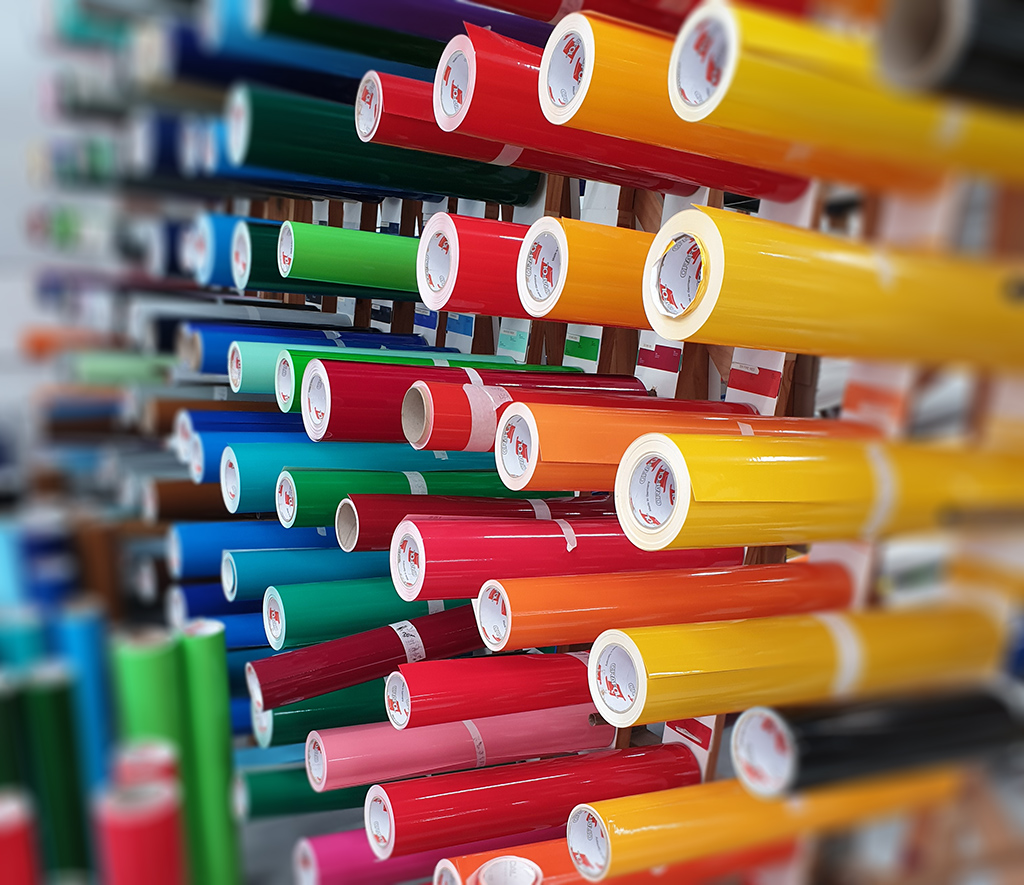
Colours galore! We have a massive library of vinyl colours in matte, gloss, reflective, and translucent patterns, just to name a few. If there is a specific colour that isn’t available in the commercial swatch range, we can print it using an eco-solvent production method- even white on transparent. This ensures a perfect colour match for your job requirements, every time.
Design. We can reinterpret and re-create a high resolution vector of your existing logo from essentially any image or sketch, so we can make a professional looking design, even if you don’t have a copy of the original file. If you don’t have a logo at all, we can help with that too.
Advice. We can advise on the right materials and production methods to meet your needs, whether you require a temporary sign for one-off use, or a sign to last a 10+ years in the desert. If you can imagine it, we can make it!
Like most Kiwis, we aren’t a mean bunch – every customer is important to us. We like to ensure that satisfaction is guaranteed, so if something isn’t quite right when you receive your decal, get in touch and we’ll fix it.
Additionally, the application of your decal doesn’t quite go to plan and it becomes unusable, we’ll send you another one for free*. We should give it a name, perhaps decal insurance. Just send a photo of the damaged decal, *cover the courier cost and we’ll get a replacement out the door to you. Note this replacement guarantee is not applicable to bulk orders and commercial clients.
For most decals, we aim to have your item made and dispatched within five (5) working days. If your job is likely to exceed this turnaround, we will advise you of the likely ETA.
Applying self-adhesive vinyl decal stickers is a simple process that anyone can manage.
We can supply a selection of optional application tools, including application fluid, isopropyl alcohol cleaner, and professional double sided felt squeegees.
For best results (and ease of use), apply decals in dry environment when weather is warm.
Click here for a useful video explaining the process
Materials Needed:
• Decal sticker
• Credit card or squeegee
• Clean cloth, paper or microfibre towel
• Isopropyl alcohol, meths or glass cleaner
(for cleaning the surface)
• Masking tape / wax pencil for positioning (optional)
• Scissors (if the decal needs trimming)
Prepare Your Surface:
Ensure that the surface you’re applying the decal to is
clean and free of dust, dirt, and grease. Wipe the
surface using a clean cloth or microfibre towel dampened
with Isopropyl alcohol, meths, or glass cleaner to
ensure proper adhesion.
Positioning:
Decide on the desired placement of the decal. You can
use masking tape to create a guide or mark the positions
with a pencil if needed. This step will help you align the
decal accurately.
Trimming (If Necessary):
If the decal is larger than the area you want to apply it,
you might need to trim it. Use scissors cut around the
edges of the design, leaving a small border if desired.
Prepare your Decal:
Rub a squeegee or credit card across the clear transfer
tape (pre-applied to the front of design). This removes
any air bubbles that may have formed, and makes the
decal cling to the transfer tape.
Peel off the Backing:
Gently peel the backing paper off the decal, exposing
the adhesive side. If the decal clings to the backing, rub
the application tape with more pressure and try again.
Be careful not to touch the adhesive with your fingers to
avoid transferring oils and dirt. Wet Application*
Align and Apply:
Hold the decal above the surface and carefully align it
according to your markings or guidelines. Once satisfied
with the placement, start applying the decal from one
side to the other, gradually pressing it down onto the
surface.
Smooth Out Air Bubbles:
As you apply the decal, use a credit card or squeegee to
gently smooth out any air bubbles or wrinkles. Start from
the centre and move outward to the edges.
Peel the Transfer Tape:
Carefully peel off the transfer tape at a 45-degree angle.
Make sure the decal adheres to the surface, and if any
part of the decal lifts with the tape, gently press it down
and peel the tape back slowly.
Finishing Touches:
After removing the transfer tape, inspect the decal for
any remaining air bubbles or imperfections. If you find
any, use the credit card or squeegee to gently press them out
towards the edges.
Allow to Set:
Let the decal sit for a few hours to ensure proper adhesion
before exposing it to any elements or potential
stress (like a car wash or water blasting)
Remember, applying decals can be a bit of a delicate
process, so take your time and follow the instructions
closely to achieve a clean and professional-looking result.
Wet Application* (optional)
Wet application can be especially useful for large decals or
those with complex designs, as it provides more flexibility in
adjusting the decal’s position. However, it requires a bit more
patience and care during the process.
Mix a solution of water and one drop of mild dish soap in a
standard household spray bottle, or purchase one of our
ready to use spray bottles. This solution will act as a lubricant
and allow you to reposition the decal during application.
Lightly mist the surface you’ll be applying the decal with the
water and soap solution. This will prevent the decal from
sticking immediately, giving you time to adjust its position.
Peel the backing off the decal as usual. Then, spray the
adhesive side of the decal with the water and soap solution
to prevent it from sticking to itself.
Place the decal on the wet surface and slide it into the
desired position. The water solution will allow you to move
the decal around until you’re satisfied with its placement.
Once the decal is in the right position, use a credit card or
squeegee to gently smooth out any air bubbles and excess
water from underneath the decal. Start from the centre and
work your way out.
Let the decal sit for a while to allow the water to evaporate
and the adhesive to bond. This might take a bit longer than
dry application, so be patient. You can use a clean cloth to
blot any excess water gently.
